
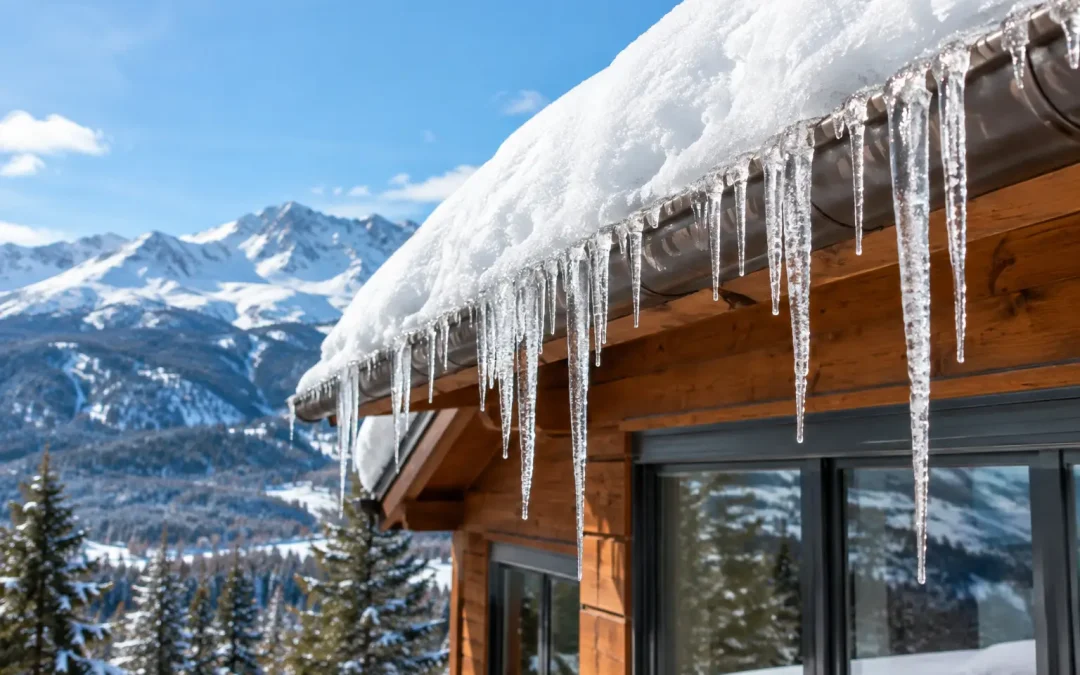
A heavy Durango snowfall can leave a roof looking perfectly secure from the driveway, while meltwater is quietly collecting beneath the shingles. The most common ice dam causes are not simply cold temperatures or deep snow. They are usually a combination of uneven roof temperatures, limited drainage, and snow that remains in place long enough to melt and refreeze.
For a seasonal or second home, that distinction matters. An ice dam may begin as a narrow ridge of ice at the eave, then force water under roofing materials, into soffits, insulation, ceilings, and finished walls. Addressing the conditions early is far less disruptive than responding to a leak after a winter storm.
What Is an Ice Dam?
An ice dam forms when snow on the warmer upper portion of a roof melts, runs downward, and reaches a colder section near the roof edge. At the eaves, the water freezes into a ridge. As additional snow melts above it, the water can no longer drain freely off the roof. It pools behind the ice and may work its way beneath shingles, metal roofing details, or flashing.
The damaging element is trapped water, not the visible ice itself. A roof can carry substantial snow without leaking when it stays consistently cold or when meltwater has a clear path off the roof. Problems arise when the roof surface has pronounced warm and cold zones.
The Primary Ice Dam Causes
Heat escaping into the attic or roof assembly
Heat loss from the living space is often the leading contributor. Warm air can move into an attic through unsealed openings around light fixtures, plumbing penetrations, chimney chases, attic hatches, ductwork, and wall intersections. It warms the underside of the roof deck, causing snow above to melt even when outdoor temperatures remain below freezing.
Insulation helps slow heat transfer, but insulation alone does not solve every problem. If warm, moist air is bypassing insulation through gaps, or if insulation is thin, shifted, compressed, or interrupted around mechanical components, the roof may still develop uneven temperatures. Mountain homes with vaulted ceilings, complex framing, and multiple remodels can have hidden areas that deserve a closer look.
Cold eaves and limited roof drainage
The roof edge usually extends beyond the heated exterior wall, leaving the eaves colder than the main roof plane. Meltwater traveling down the roof refreezes at this cold transition. Once an ice ridge develops, even a small amount of daytime melting can create backed-up water.
Gutters can make this situation more complicated. A gutter filled with snow or ice cannot carry water away. Downspouts may freeze solid, and gutter guards can hold compacted snow in place depending on their design and the type of winter weather. Removing gutters is not automatically the answer, particularly on a home where they play a meaningful role in managing spring runoff. The right approach depends on roof pitch, snow-shedding behavior, drainage design, and the home’s surroundings.
Inadequate or obstructed attic ventilation
A properly designed attic ventilation system can help keep the roof deck closer to the outdoor temperature. Intake ventilation at the soffits and exhaust ventilation near the ridge create airflow that carries away excess heat and moisture.
Ventilation is not a cure-all. In a poorly air-sealed attic, adding more ventilation may not overcome major heat loss from the house below. It can also be difficult to achieve balanced airflow on homes with intricate rooflines, low-slope sections, skylights, dormers, or cathedral ceilings. Still, blocked soffit vents, covered baffles, and insufficient ridge venting are common findings when investigating recurring ice dams.
Roof design, sun exposure, and drifting snow
Durango’s bright winter sun can create large temperature differences across a single roof. A south-facing plane may shed snow or melt during the afternoon while a shaded north-facing section remains frozen. Valleys, changes in roof pitch, dead valleys, and areas behind chimneys can retain snow and concentrate runoff in a small area.
Wind is another local factor. It can deposit deep drifts along roof transitions, against parapets, and near higher walls. That additional snow acts as insulation over the roof surface, holding warmth below and supplying more meltwater when temperatures rise. A roof that performs well during an average storm may reveal its weak points after wind-driven accumulation.
Mechanical systems and localized heat sources
Localized warmth can create very specific melt patterns. Examples include uninsulated ductwork in an attic, recessed lighting, improperly insulated flues, bathroom exhaust ducts that release warm air into the attic, and heating equipment located near the roofline. In homes with hydronic, radiant, or other sophisticated mechanical systems, an equipment-room configuration or a pipe run near the exterior envelope can sometimes contribute to a localized concern.
These are not assumptions to make from the ground. A careful assessment should trace the pattern of melting or ice buildup back to the underlying condition. The location of the ice often provides useful clues about where heat, air, or moisture is moving.
Warning Signs Worth Addressing Early
Icicles alone are not proof of roof damage, but long or recurring icicles along an eave deserve attention, particularly when paired with a thick ice ridge. Other warning signs include wet insulation, stained ceilings, peeling paint near exterior walls, dampness around window trim, or a persistent frost buildup inside the attic.
Outside, look for snow melting in narrow stripes, bare patches that appear well before nearby roof areas, or ice that repeatedly forms at the same valley, dormer, or gutter. If a home is vacant, these details can be easy to miss until water has already reached the interior. Regular winter checks create a record of changing conditions and make it easier to act before a small issue becomes a repair project.
Preventing Ice Dams Starts Before the Next Storm
The most effective prevention plan addresses the building as a system. Begin with air sealing and insulation improvements where an inspection identifies heat loss. Then evaluate ventilation, roof drainage, gutters, and the roof’s snow-retention patterns. Improvements should be tailored to the home rather than applied as a generic checklist.
A few practical seasonal measures also help protect the roof:
- Keep gutters, downspouts, valleys, and roof drains clear before sustained winter weather arrives.
- Confirm attic vents are open and that insulation has not blocked soffit intake paths.
- Inspect flashing, roof penetrations, and shingles or metal panels before snow conceals developing defects.
- Monitor snow accumulation after major storms, especially in valleys, behind chimneys, and at roof-to-wall transitions.
- Arrange professional snow removal when accumulation, roof design, or ice formation warrants it.
Roof raking can reduce the amount of snow available to melt at the eaves, but it must be done carefully. Improper tools or aggressive scraping can damage shingles, metal finishes, gutters, and flashing. It is generally best handled from the ground with the appropriate equipment or by a qualified snow-removal professional for steep, tall, or complex roofs.
Heat Tape Can Help, but It Is Not a Substitute for Repairs
Heat cable, often called heat tape, can provide a controlled drainage path in selected locations. It may be useful along eaves, in gutters, downspouts, or problem valleys when installed correctly and monitored through the season. For some homes, it is a practical layer of protection during a particularly snowy winter.
However, heat cable does not correct attic air leaks, poor insulation, blocked ventilation, or a roof design issue. It also requires seasonal inspection. Damaged cable, unsecured connections, incorrect timer settings, and electrical concerns can create more problems than they solve. The goal is not to heat the entire roof. It is to use a properly designed system where it supports safe drainage while the underlying causes are addressed.
What to Do When an Ice Dam Is Already Present
Avoid chopping ice with an axe, shovel, or metal tool. It is easy to damage the roof surface or flashing, and working on an icy roof presents an obvious fall hazard. Calcium chloride products are sometimes used by professionals in controlled applications, but they should not be scattered indiscriminately across a roof or gutter system. Certain products can harm landscaping, corrode materials, and leave residue.
If you see interior moisture, treat it as a prompt maintenance concern. Document the area, move furnishings away from the leak if needed, and arrange for a qualified professional to assess the roof safely. The immediate priority is limiting water entry. Once conditions allow, the home should also be evaluated for the source of the heat loss or drainage issue that allowed the dam to form.
For homeowners who spend part of the winter away, trusted local oversight is especially valuable. Elevation Home Management can observe changing roof conditions during routine property checks, coordinate vetted specialists when action is needed, and keep you informed with clear reporting. That attention protects more than the roof – it helps ensure your Durango home remains secure, cared for, and ready for the time you come back to enjoy it.
A winter roof should not be something you worry about from afar. With early observation and the right expert hands, small signs of uneven melting can stay exactly that: small signs, handled before they interrupt life in Colorado.